
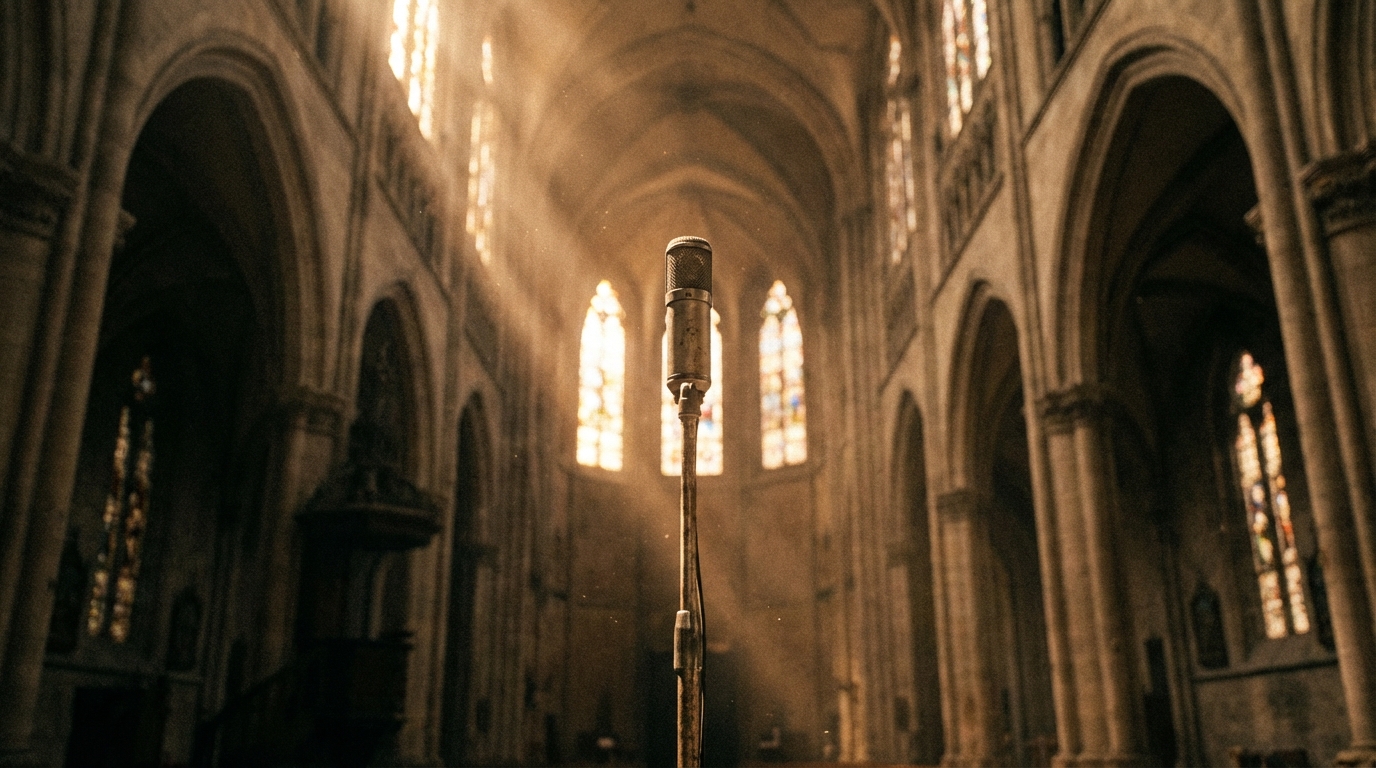
Recording
The Forgotten Art of Recording Room Tone (And Why It Matters More Than Ever)
Room tone gets about as much respect as a bass player at a guitar convention. Engineers record it as an afterthought, editors treat it like dead air, and clients wonder why they're paying for "nothing." But that "nothing" might be the difference between amateur hour and professional polish.
Room tone isn't silence. Silence doesn't exist outside of anechoic chambers and the vacuum of space. Every room breathes — HVAC hums, fluorescent lights buzz, traffic rumbles through walls, and even empty spaces have their own acoustic fingerprint. That fingerprint becomes the invisible foundation of every edit, every fade, every moment between words.
What room tone actually captures
Hit record in an "empty" room and you're documenting everything from natural reverb time (RT60) to the noise floor that defines that particular environment. Room tone captures the acoustic DNA of a space. A bedroom with carpet and curtains sits around -50 to -60 dBFS of ambient noise. Bathroom with hard surfaces might ring out at 0.8 seconds of reverb time. That basement studio? Probably has that distinctive 60Hz hum from electrical interference.
This information becomes critical during post-production. Cut between takes and you're creating potential discontinuity in the ambient field. Without proper room tone, those cuts sound like someone yanked the plug on reality for a split second. The brain notices. Always.
Common mistake
Recording room tone for 30 seconds and calling it done. You need at least two minutes to capture the full behavior of intermittent noises — air conditioning cycles, distant traffic patterns, building settling sounds.
The acoustic signature changes throughout the day. Morning room tone in a commercial building sounds different from afternoon tone after the HVAC system has run for hours and the space has warmed up. Evening recordings capture different traffic patterns and electrical loads from neighboring spaces.
The editing phase where room tone saves your project
Dialogue editing without proper room tone feels like performing surgery with a butter knife. You need that ambient bed to mask edit points, fill gaps between words, and maintain the illusion that the conversation happened in real time. Professional dialogue editors often run room tone as a continuous underlay beneath entire conversations, using it like invisible glue.
Consider a typical vocal recording session. Talent delivers a perfect take except for one word in the middle. You punch in a replacement. Without matching room tone, that punch sounds like it was recorded in a different universe. The noise floor drops out, the reverb tail disappears, and suddenly everyone knows you edited.
Room tone also provides material for spectral repair work. Need to remove a mouth click, chair creak, or unexpected noise? You can't just delete the audio — you create a hole in the ambient field. Instead, you replace the problematic audio with a clean section of room tone that matches the frequency content and amplitude of that moment.
Pro technique
Record room tone at multiple levels of ambient activity. Capture the space during peak HVAC operation, during quiet periods, and when neighboring spaces are occupied. This gives you options for different sections of the edit.
Modern spectral editing tools make room tone even more valuable. Analyze the frequency content of your room tone and use it to inform noise reduction settings. Instead of guessing at what constitutes "noise" versus "signal," you have reference recording of pure environmental sound from the same session.
Recording techniques that actually work
Position matters more than most engineers realize. Room tone changes based on microphone placement — it's not monolithic. Record room tone with your microphones in the exact positions used for the primary recording. Move the mic two feet closer to the wall and you'll capture more boundary reflections. Shift it toward the center of the room and you'll get different balance of direct versus reflected sound.
Use identical gain staging and preamp settings. If you recorded dialogue with the VPRE-73 adding its characteristic low-end warmth and smooth high-frequency response, your room tone needs the same signal chain. Different preamps have different noise characteristics, and those differences will be audible when you try to blend room tone with dialogue.
Record room tone at multiple points during the session, not just at the end. Acoustic conditions change as people enter and leave the space, as equipment warms up, as weather conditions shift outside. A thunderstorm rolling in during hour three of a vocal session creates completely different ambient environment than the quiet morning you started with.
Don't just hit record and stand motionless for two minutes. Capture variation within your room tone recording. Walk quietly around the space. Open and close doors in adjacent rooms. Let the building's natural acoustic behavior reveal itself. This variation gives you editing options when you need room tone that matches specific moments in the primary recording.
Technical detail
Record room tone at the same input levels as your primary audio, but also capture a version 6-10 dB quieter. This gives you a more subtle option for filling small gaps without overpowering the existing ambient field in your main recordings.
Modern challenges demand better room tone practices
Streaming platforms and digital distribution have zero tolerance for acoustic inconsistencies. Listeners use headphones that reveal every edit point, every mismatched noise floor, every moment where the ambient field doesn't quite match. The forgiving nature of analog tape and vinyl playback systems masked many room tone sins that now stick out like neon signs.
Remote recording setups make room tone even more critical. When talent records at home using different rooms, microphones, and acoustic treatments, room tone becomes the primary tool for creating cohesion between disparate recording environments. You can't make a bedroom closet sound like a professional booth, but you can use room tone to mask the differences enough that listeners don't notice the transitions.
Podcast editing relies heavily on room tone for pacing and flow. Natural conversation includes pauses, breaths, and moments of silence that feel awkward when edited too tightly. Room tone fills those gaps while maintaining the acoustic reality of the space, keeping the conversation feeling natural instead of artificially compressed.
Sample rate and bit depth matter for room tone just as much as for primary recordings. A 16-bit room tone recording doesn't have the dynamic range to handle quiet ambient details that become important when you need to match specific moments in a 24-bit dialogue recording. The quantization noise floor becomes audible when you try to blend mismatched formats.
Processing room tone for maximum utility
Raw room tone often needs processing to become useful. High-pass filtering below 40-60 Hz removes subsonic rumble that doesn't contribute to acoustic character but eats up headroom and processor resources. A gentle high-frequency shelf around 10-12 kHz can tame excessive air conditioning noise while preserving the natural air and openness of the space.
Compression can help even out inconsistent ambient levels within your room tone recording. Use gentle ratios (2:1 or 3:1) with slow attack and release times to avoid obvious pumping. The goal is creating more consistent noise floor that blends seamlessly with edited dialogue, not adding character or punch.
EQ matching becomes powerful when working with room tone from different sessions or locations. Analyze the frequency content of your primary recording's ambient field, then use EQ to match room tone from other sources. This technique works particularly well when combining recordings from similar but not identical spaces.
Advanced workflow
Create a room tone library with detailed notes about recording conditions, microphone placement, and frequency content. Include analysis files showing spectral characteristics. This becomes invaluable when matching room tone to older projects or recreating specific acoustic environments.
Reverb tail analysis reveals important information about room tone character. Clap your hands or snap your fingers during room tone recording to capture the natural reverb decay of the space. This gives you reference material for matching artificial reverb settings to the natural acoustics when you need to enhance or extend the ambient field.
Key takeaways
- Record room tone for at least two minutes using identical microphone placement and signal chain settings as your primary recordings
- Capture room tone at multiple points during sessions to account for changing acoustic conditions
- Use room tone as continuous underlay during dialogue editing to mask edit points and maintain acoustic consistency
- Process room tone with gentle high-pass filtering and compression to create more consistent, usable ambient beds
- Build a room tone library with detailed technical notes for matching acoustic environments across projects
Add a comment
You need to be logged in to add comments.